TL;DR:
- Go to Device Management -> Chrome -> User Settings
- Under the Apps and Extensions section change “Allow or Block All Apps and Extensions” to “Block all apps…”
- Click Manage under the “Allowed Apps and Extensions” section
- “Specify a Custom App” and add the ID and URL of each app, linked in the below text
We’ve been doing a lot more work with Google recently, installing Chromebooks and setting up G Suite for Education at lots of schools over the summer break.
A Chromebook offers excellent value computing, all backed by Google’s G Suite system. There are lots of different types of Chromebook available from all of the big name manufacturers such as HP, Lenovo, Acer, etc. There is a model for every budget and need, ranging from a cheap and cheerful 11” unit for around £150, all the way up to the £1000+ Google Pixelbook. Some of them have the ability to ‘flip’, where the screen folds back on itself to convert the unit into a tablet. It may not be as neat as an iPad, or dedicated tablet, but for people who need a laptop form factor for the majority of the time, having the flexibility to convert into a tablet-esque device can be quite handy.
The Google Chrome Management console allows schools and businesses to easily configure the Chromebook in the best way for their environment. For example, in a school setting you may want the teachers to be able to install their own extensions and apps, but you probably don’t want to allow pupils to roam the Chrome Web Store without some kind of guidance or restrictions in place.
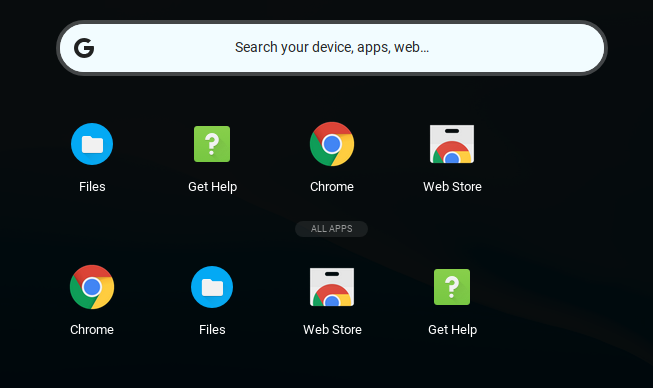
This leads me on to the topic of this blog post which is somewhat of a documentation exercise for me, but hopefully some people may find it useful. Let’s say that you want to disallow pupils from being able to install their own extensions (and if you don’t, just have a look at something like DotVPN or the dozens of alternatives that are available on the store). Google give you two main options in the admin console: “Block all apps and extensions except the ones I allow” or “Allow all apps and extensions except the ones I block”. This sounds great in theory, as to achieve the aim of preventing pupils from installing their own apps you would be forgiven for thinking that you could simply choose the former option. However, if you do this and then log in to a Chromebook, this is what your users will see:
As you can see, most of the default apps have disappeared. The same applies to Extensions:

If all you want to do is allow the default apps (ones ‘preinstalled’ by Google), but block the ability to install more it would be a lovely thing for Google to provide two additional options named “Allow default apps and block others except ones I allow” and “Allow default apps and others except ones I block”. As this option is not available we have to craft an allow list that includes the default apps and extensions. This is where the documentation part of this blog post comes into play… The list of apps and extensions changes every now and then as Google decide that one of their apps should be included by default. Google Keep, for example, was not on the list last year. Therefore it’s important to stay on top of this list in order to see what you need to add to your ‘allow’ setting. As of 2 August 2018, the following apps are included in the app launcher by default:
Text
Google Drive
Gmail
Google Keep
Camera
Chrome
Files
Docs
Slides
Sheets
Google Photos
YouTube
Google Maps
Calculator
Web Store
Get Help
Some of the apps, such as Get Help, Chrome, Files and Web Store cannot be removed and will show in the launcher even if you set the “Allow or Block All Apps and Extensions” to block all.
The list of extensions is a bit shorter:
The remaining extensions are not really extensions at all, but they show up in the extensions section of Chrome as the result of the ‘app’ being installed:
Calculator
Camera
Docs
Google Keep
Sheets
Slides
In order to add these apps and extensions into the ‘Allowed Apps and Extensions’ category, you can search the Chrome Web Store and add them in. A shot of the interface to do this is shown below:

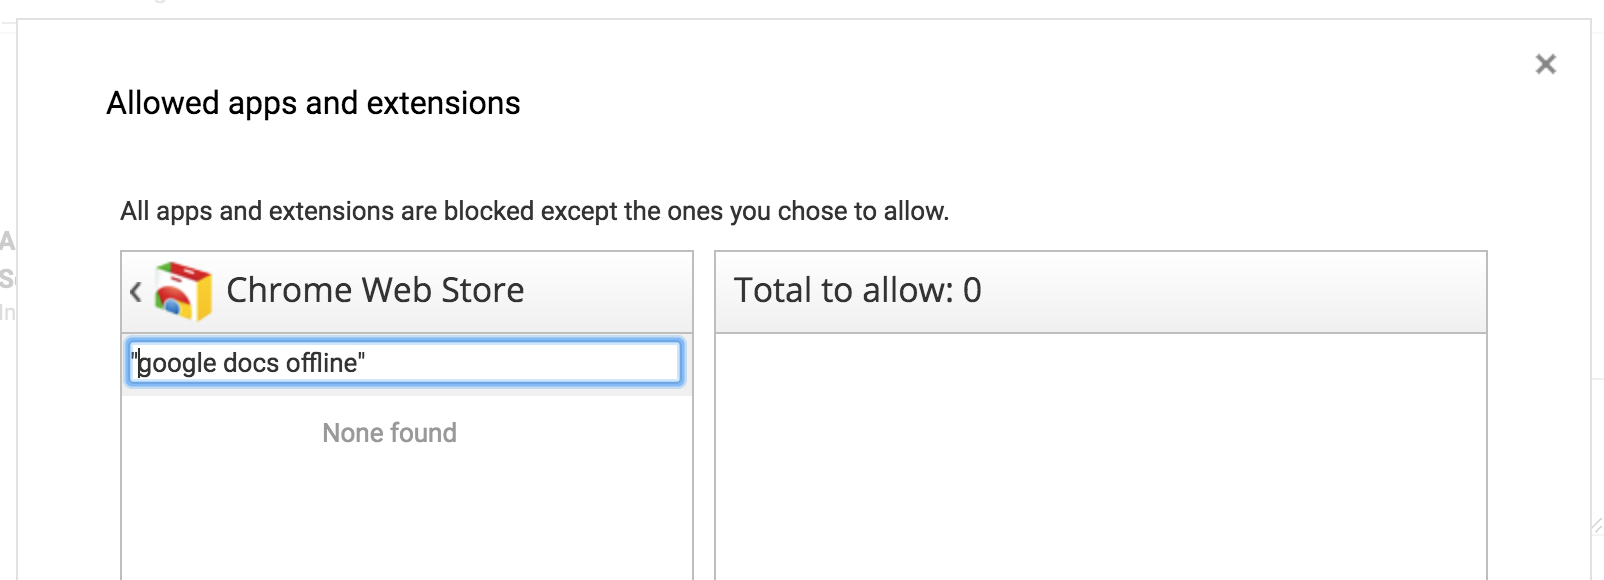
While this should be an easy thing to do, search for certain Google-provided apps and extensions and you will come up blank. I’m not sure why this is, but it can be a real pain:

To work around this you can (wait for it) Google the name of the extension you are looking for and it will usually reveal it buried in a forum post. If you click on the link you will see that it opens up in the Chrome Web Store and so why the search functionality doesn’t return it is a mystery to me. Of all the things Google should be able to do well, it’s search!
Anyhow, the eagled eyed will have noticed that the list of apps and extensions posted above are all hyperlinks. These link to the relevant page on the Store so that you can verify each one for yourself and then simply paste in the details into the Allowed Apps list:

Once you’re done, hit save and then log in as a user who is sited in the OU for which you have edited the above settings. You should find that they have all of the default apps that you’d expect to see, but their ability to app their own apps and extensions has been removed.
Let me know how you get on or if you have an alternative method of achieving the same end result.
Stuart
Stuart is in charge of kitchen duties and makes a mean cup of coffee. He also holds the keys to Crossover’s Emergency Response Vehicle and will turn up on two wheels should your server catch fire.


Recent Comments